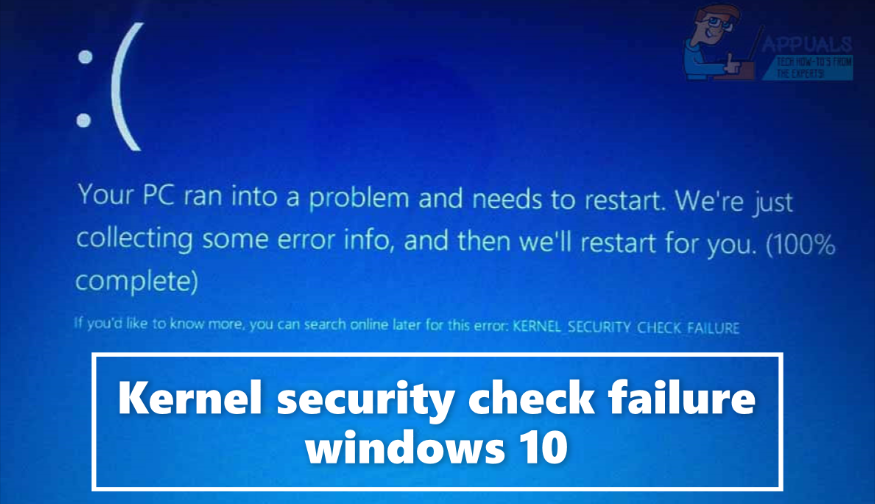
Windows 10 error Kernel Security Check Failure is usually the result of BSOD. While the blue screen in Windows 10 is friendlier than ever, we still don’t want to see it working on our computers. So if you are going to fix Windows 10 error Kernel Security Check Failure, then this tutorial is for you.
A kernel security check failure means that the file has failed compatibility or integrity checks and needs to be updated or replaced. This can be caused by outdated drivers, inherited Windows 7 or 8 drivers that are not fully compatible with Windows 10, or a drive or core file that has become corrupted in some way.
What are the common causes of “Kernel Security Check Failure” error ?
Common Causes of “Kernel Security Check Failure” Error – Unlike most errors in Windows 10, the causes of blue screen errors are often not easy to identify. Kernel security check failure is caused by:
- Memory problems
- Old drivers
- Virus
- Corrupted Windows System Files
- Security program
- A damaged or corrupted hard disk
So, if you are currently dealing with kernel security check failure stop codes, the possible causes are :
- Your system is out of date – It is possible that your system has suffered a kernel security check failure because it is out of date. In this case, all you have to do is get the latest available Windows 10 update. Updates help keep you safe and often fix existing bugs, errors, and more.
- You have malware on your system – users reported that after scanning for malware and removing the identified threats, the kernel security check failure was resolved. It is possible that your system is infected with malware which is causing the error.
- The driver is out of date or not compatible – similarly to your system, your drivers need to be updated to keep them working as intended. If a driver is out of date, it may be facing compatibility issues with the rest of your drivers.
- Corrupted System Files – Most likely, your system files may have been damaged as a result of malware. These files can be easily restored with the help of sfc scan and disk check commands.
- Third-party protection or antivirus – If you are currently using a third-party antivirus, it may interfere with your system. We recommend that you follow the steps below to disable it temporarily and see if your situation improves.
Of these, the most common are incompatible drivers, especially if you’ve upgraded from an older version to Windows 8 or 10. In all likelihood, you may be using a driver that worked well for previous versions but not for the current one. In such case, the system throws this error.
Usually, there is a check process in the Windows operating system during startup. This process generates a KERNEL_SECURITY_CHECK_FAILURE error when it detects corruption in a critical data structure.
How to fix kernel security check failure windows 10 ?
Check windows updates –
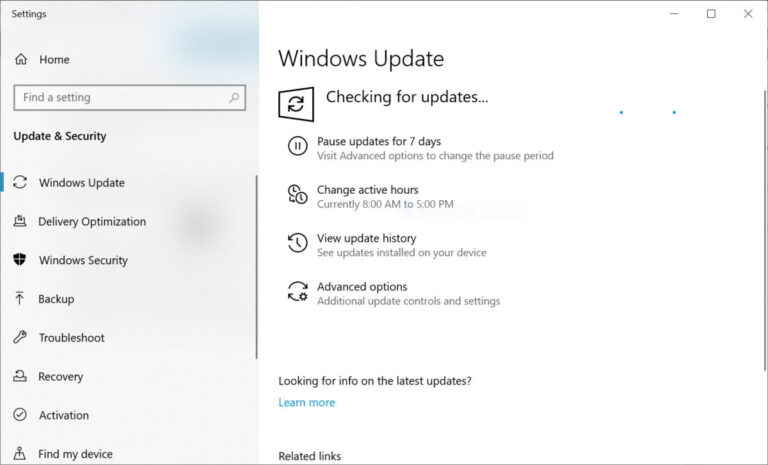
There are a few things we can do to fix this error. First, perform a Windows Update to make sure you’re running the latest version.
- Navigate to Settings, Update & security and Windows Update.
- Click on ‘Check for Updates‘.
- Update everything as needed.
If you get Kernel Security Check Failure Stop error or Blue Screen on Windows 10/8/7, this post has some troubleshooting steps that you can try. This error is usually affected by memory or driver incompatibility issue or system data corruption.
‘Kernel Security Check Failure‘ PC errors can occur due to various reasons such as memory problems, virus infection, and more.
However, the most common reason is that the drivers you used for the previous version of Windows are not compatible with the newer version of Windows.
As a result, the OS gives you a ‘Kernel Security Check Failure‘ error message followed by error code 0x000000139.
Update display adapter driver :
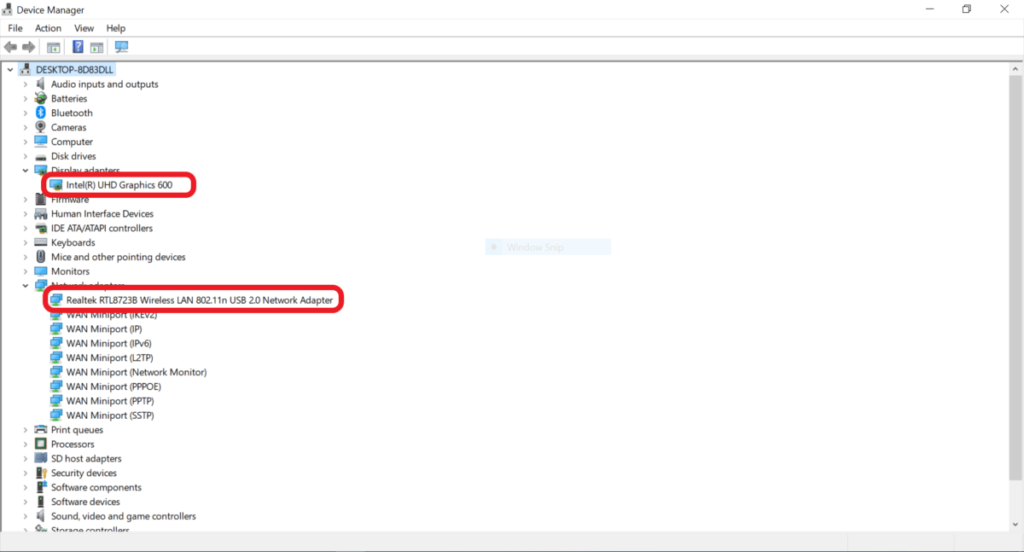
First, go to Windows search bar and type device manager, right-click on the driver and uninstall network adapter,
Then right-click on Display Adapter mouse to uninstall and restart your computer.
Open windows command prompt :
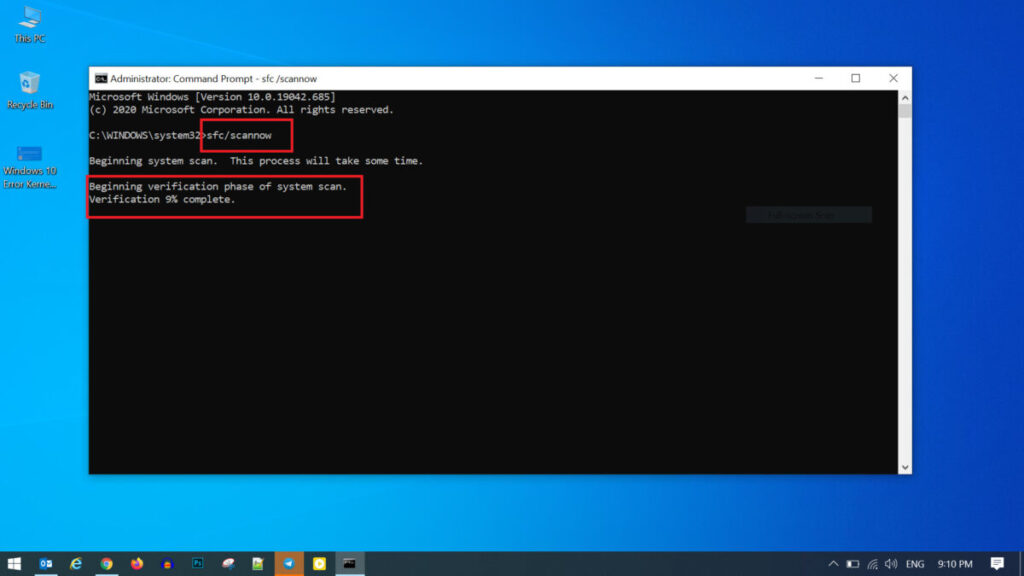
After restarting the computer, go to the search bar of Windows and type cmd, then a command prompt will show you running an app with administrator, then type sfc /scannow and hit enter.
- This will sometimes take some time depending on the configuration of your PC.
- After that restart your computer when it is 100% complete.
If you follow this tutorial, we hope you will solve your problem. But if your problem is not solved then please comment, we will help you.