Disk cleanup application is a computer maintenance utility in Microsoft Windows designed to free up disk space on a computer’s hard drive. This tools also compress older, untouched files so that they don’t take up as much storage space.
It allows users to remove files that are no longer needed or that can be safely deleted. Many programs generate temp files in response to file creation, which are used as backups for the files that are being worked on in case the program closes unexpectedly.
Disk Cleanup searches your disk and then shows you temporary files, Internet cache files, and unnecessary program files that you can safely delete.
How to open Microsoft Disk Cleanup in different versions of Windows?
- In “File Explorer”, click on your “C” drive, then click on “Properties”.
- Click on “Disk Cleanup” option.
- Select all items under, “Files to delete”.
- Delete the selected files by clicking on “OK” option..
- Next, “Clean up system files” by once again, right-clicking on your hard drive and click on “Properties”.
- Click on “Clean up system files”.
- Select all files under, “Files to delete” and hit, “OK” option.
- Click on, “Delete Files” option.
- Click on, “OK” and your hard drive cleanup is complete.
Open in Windows 10 & Windows 11:
Method 1: Using Search Bar
- Type Disk Cleanup in the Search Bar.
- Press Enter.
- In the Drives list, select which drive you want to run Disk Cleanup on.
- Select the files you want to delete.
- Click OK.
- Click Delete files.
- To delete system files that are no longer needed on your computer, click Clean up system files.
Method 2: Using Task Bar
- Press Windows key+X to open the Power User Task Menu.
- In the menu, tap or click the Run option.
- In the Run text field, type cleanmgr and press Enter.
- Select files you don’t want in your system.
Open in Windows 8
Open Using Settings
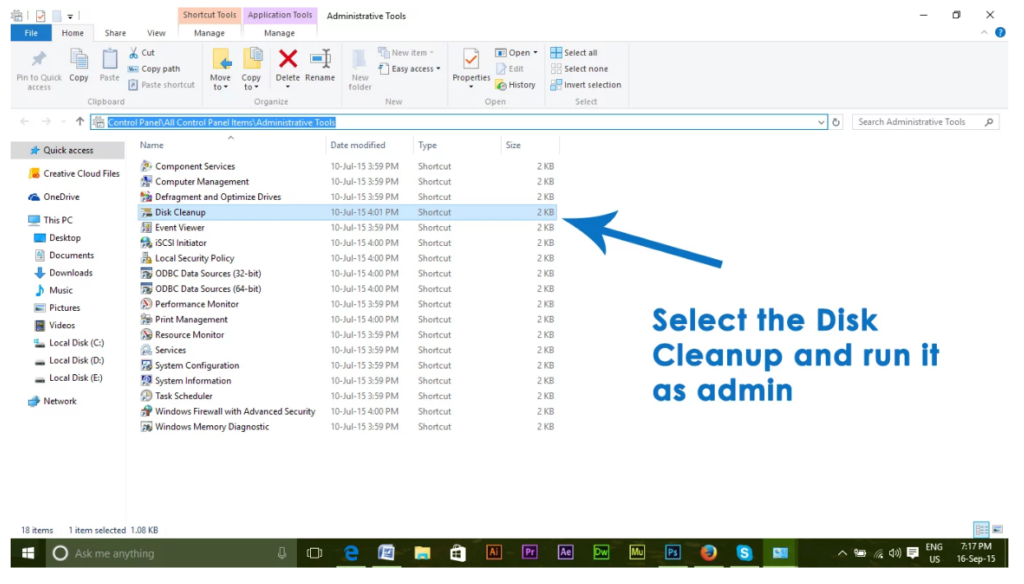
- Click Settings > Click Control Panel > Administrative Tools.
- Click Disk Cleanup.
- In the Drives list, select the drive you want to run Disk Cleanup on.
- Select the files you want to delete.
- Click OK and choose Delete files option.
- To delete system files that are no longer needed on your computer, click Clean up system files.
- Shadow copies/Duplicate files and restore points can be deleted by going to the More options tab > Click Cleanup.
Open in Windows Vista or Windows 7:
Using Start Menu
- Click on the Start menu option.
- Go to All Programs > Accessories > System Tools.
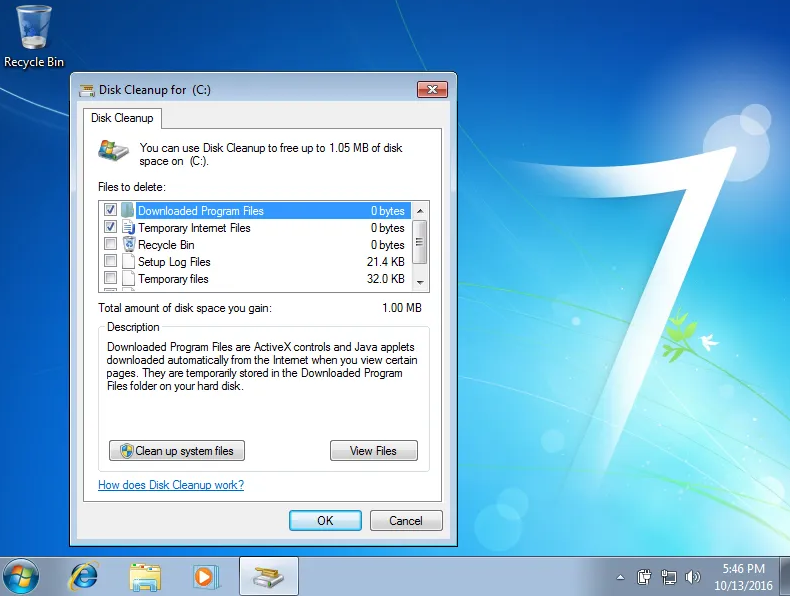
- Click Disk Cleanup.
- Choose the type of files and folders to delete at the Files to delete section.
- Click OK.
- To delete system files that are no longer needed, click Clean up system files.
- You may be prompted by UAC (User Account Control) to confirm the action.
- Click Delete Files.
Open in Windows XP:
Method 1 : Using Run command
- Click Start and Run.
- Type cleanmgr.
- Click OK or press Enter.
Methos 2 : Using Start Menu
- Click Start.
- Go to All Programs.
- Go to Accessories.
- Go to System Tools.
- Click Disk Cleanup.
Method 3 : Using My Computer
- Open My Computer.
- Rightclick on the drive you want to run Disk Cleanup. This is usually C:\, the drive where Windows XP is installed.
- Click Properties.
- Go to the General tab.
- Click Disk Cleanup.
Troubleshooting while disk cleanup
If Disk Cleanup is getting stuck at a certain deletion process (deletion of temporary files or deletion of Windows updates), try any of the following tips:
- Run Disk Cleanup as an Administrator.
- Delete the files and folders manually, but be logged in as an Administrator.
- If Disk Cleanup is getting stuck at deleting Internet Explorer temporary files, delete the temporary files manually.
- Be logged in as Administrator or as any user with administrative rights to the system when doing so.
- Run a sfc /scannow command.
- Open Command Prompt by pressing Windows + R.
Type sfc /scannow /offbootdir=D:\ /offwindir=D:\Windows\, where D:\ is your Windows drive letter, and D:\Windows is your Windows installation path. - Press Enter.
Reason to perform Disk Cleanup
The items in Disk Cleanup are safe to delete. But, if your computer isn’t running properly, deleting some of these things may prevent you from uninstalling updates, rolling back your operating system, or just troubleshooting a problem, so they’re handy to keep around if you have the space. You can also install new updates and features in your system.