Lets First know –
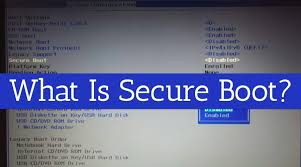
What is Secure Boot?
Secure Boot is a feature found in the startup software for your computer that’s designed to ensure your computer starts safely and securely by preventing unauthorized software like malware from taking control of your PC at boot-up.
Key Points –
- Secure Boot is a feature in your PC’s UEFI that only allows authorized operating systems to boot.
- To disable Secure Boot, you need to restart your PC and open the Unified Extensible Firmware Interface (UEFI).
- Secure Boot is a feature of your PC’s UEFI that only allows approved operating systems to boot up.
- It’s a security tool that prevents malware from taking over your PC at boot time.
- You can re-enable Secure Boot from UEFI, but you may need to restore Windows to factory conditions.
How to Disable Secure Boot?
- Click the Start button and then click “Settings.”
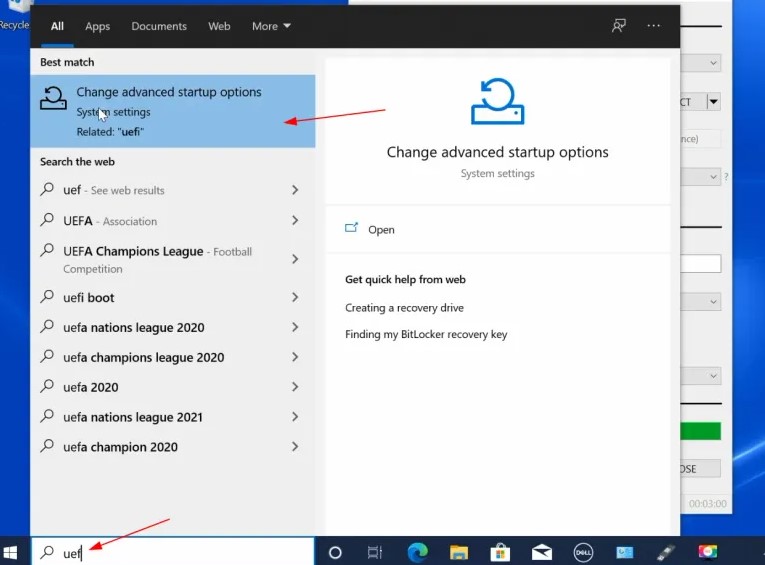
- In the Settings search box, type “Advanced start.” When you see “Change advanced startup options” in the dropdown menu, select it.
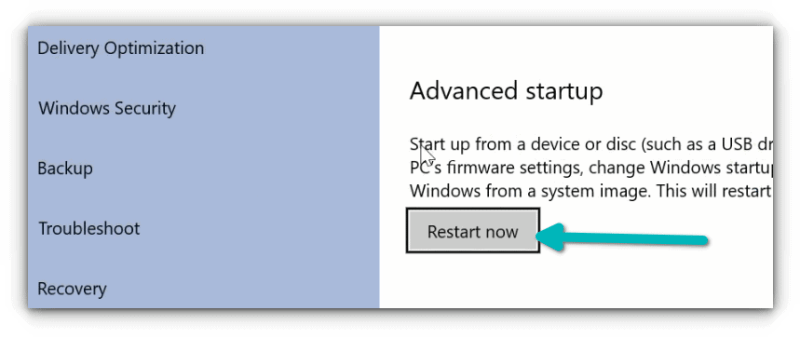
- On the Recovery page, find the Advanced startup section and click “Restart now.”
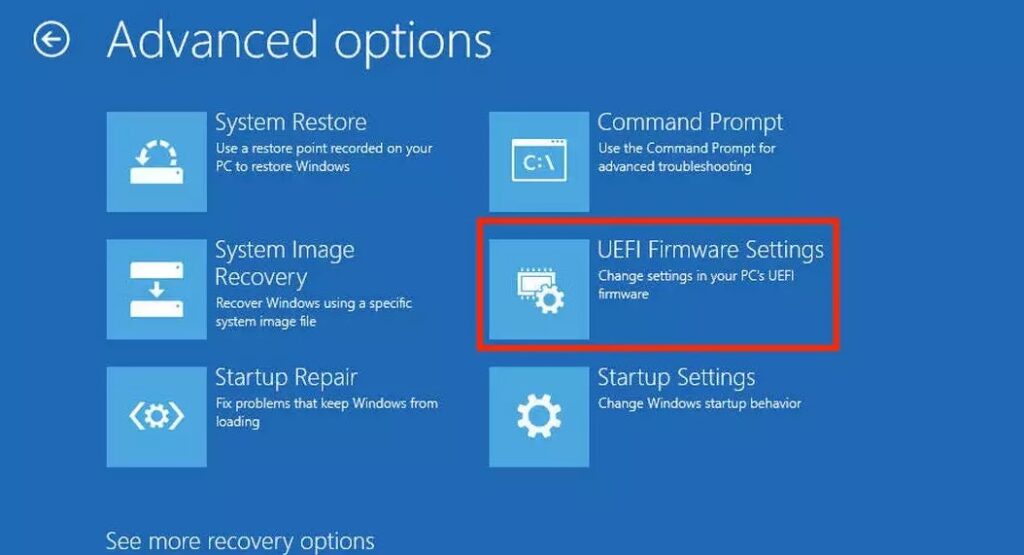
- When the computer restarts to the Choose an option page, choose “Troubleshoot.”
- Click “Advanced options.”
- On the Advanced options page, choose “UEFI Firmware Settings.” Your computer will restart and open the UEFI interface.
- The location of Secure Boot will vary from PC to PC – not all UEFI use the same menus or layouts. Typically, you’ll often find Secure Boot in the Boot Options menu or page. Change the setting from “Enabled” to “Disabled.”
- Go to the Exit menu and choose “Save Changes and Exit” or whatever similar option your UEFI uses to save changes and restart the PC.
Your system will restart now and when it boots again, you’ll find yourself in the BIOS/UEFI settings interface.