Windows 10 was launched in 2015. Each update brings a lot of new features.
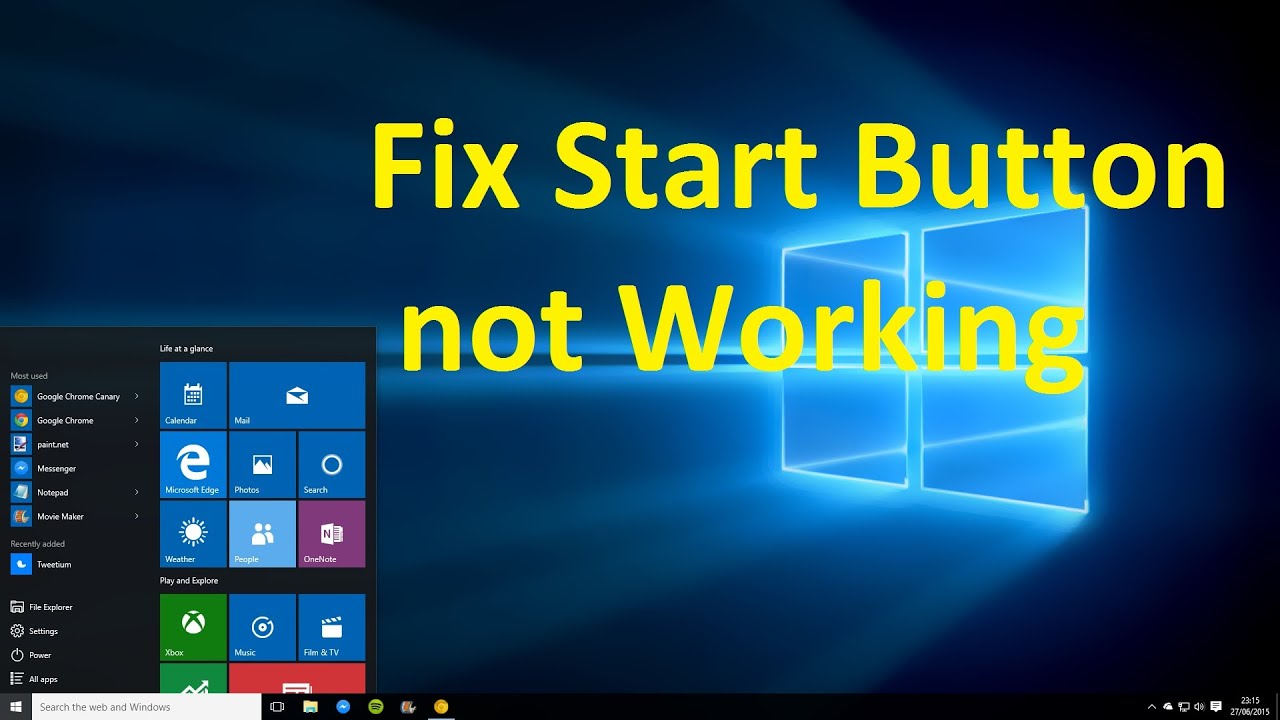
If you want to open settings in your system and you click on start button to open start menu but start menu does not open. After a few seconds, you try it again, and still, the Start menu doesn’t open. Because sometimes the start menu suddenly stops working.
Reasons to Why Start Menu Not Working
- Temporary data files that the Start menu uses are corrupt or out of date
- Cortana temporary files are corrupt or out of date
- A known glitch in Windows 10 that causes the Start menu to freeze
- The Start menu under your specific Windows account is crashing or missing
- Windows Explorer on your system is out of date or includes corrupted files
How to Repair Start Menu Not Working in Windows 10
To solve the issue of Start Menu not working, first take the back up your files before you attempt any of the following methods. There are various methods to solve this error and some of them are mentioned below:
1. Update Windows
To update your system, follow these process :
- Press Windows Key + I to open Settings and then click on Update & Security.
- In the update status click on “check for updates” to check for and install all critical Windows updates.
Once all of the latest updates are installed, restart your computer and test the Windows Start menu again.
2. Update Drivers
Drivers play a major role in syncing devices with the system. All the drivers must be updated to the latest versions. To update the drivers on your system, follow these process :
- First, Open Device Manager.
- To open Device Manager, Press Windows +R on the keyboard, type “devmgmt.msc” and click on “OK” button.
- On the Device Manager window here is the list of all drives. Right-click on all the drivers and select “Update Driver” on the context menu and click on it.
Once all of the driver are updated, restart your computer and test the Windows Start menu again.
3. Restart System
To restart your system, follow these process :
- Press Windows + R shortcut key on the keyboard, type “cmd” and click on “OK” button.
- Now type “shutdown /r” on command prompt window and press Enter.
4. Malware Scan
Various errors occur on the system due to infected files, which are called malware. These files slowly infect the system and then cause various service failures in the system. So you must scan your system regularly and make sure that there is no malware present in your system. To scan your device follow below steps :
- Press Windows + R shortcut key on the keyboard, type “cmd” and press enter. There are two commands to fully scan and repair your system : DISM and SFC.
- Type “DISM.exe /Online /Cleanup-image /Restorehealth” command In the command prompt window and press Enter.
- This process take up to 30 minutes. When this is finished and you see the message that “The operation completed successfully”.
- Now Type “sfc /scannow” command and press Enter. When this is finished and you see the message that “Verification 100% complete”.
- Type “exit” to close the Command Prompt. Restart your computer and test the Windows Start menu again.
5. Reset System
To reset your system, follow these process :
- Press Windows Key + I to open Settings and then click on Update & Security.
- Click on “Recovery” and under the title “Reset this PC” click on “Get started”.
- Choose the option “Keep my files” on the dialog box.
- Then select “Local reinstall”. Click on “Next” button.
- Now Click on “Reset” to factory reset Windows 10.
Once all the process is completed, restart your computer and test the Windows Start menu again.
6. Restart Windows Explorer
Windows Explorer makes sure that all the programs run efficiently on your system, so if there is any issue regarding the system programs, then try to restart Windows Explorer. Follow these steps to restart windows explorer :
- Right-click on the taskbar and then tap on “Task Manager”.
- On the Task Manager window, find Windows Explorer, right click on it and select ‘Restart’ from the context menu.
7. Using PowerShell
Windows provides its users with a command-line interface called PowerShell. The interface makes it easier for the users to change the system files and fix various errors.
To solve the start menu error using PowerShell follow below steps :
- Press Windows + R shortcut key on the keyboard, type “cmd” and press enter.
- Type “ Get-AppXPackage -AllUsers | Foreach {Add-AppxPackage -DisableDevelopmentMode -Register “$($_.InstallLocation)\AppXManifest.xml”} “ command In the PowerShell window and press Enter.
- By entering this command in PowerShell, the system re-installs all the respective system programs. When the programs are installed, then restart the system.
8. Rebuild Index
To rebuild index, follow below steps :
- Press Windows + R shortcut key on the keyboard, type “control/name Microsoft.IndexingOptions” and click on “OK” button.
- On the Indexing Options window, click Modify, now click on “Show all locations”.
- Uncheck all the directories in the column “change selected locations”. Click on “OK”.
- Now Click on “Advanced”, tap on “Rebuild”.
9. Unhide Taskbar
To unhide taskbar, follow these steps :
- Press Windows Key + I to open Settings and then click on Personalization.
- Tap on “Taskbar” and then under the heading “Lock the taskbar” toggle the switch to off.
10. Uninstall or Fix Dropbox
To fix or uninstall dropbox, follow these steps :
- Press Windows + R shortcut key on the keyboard, type “Regedit” and click on “OK” button.
- In the address bar of Registry Editor window, type “Computer\HKEY_LOCAL_MACHINE\SYSTEM\CurrentControlSet\Services\WpnUserService” and click on the file titled “Start”.
- Enter value data as “4” and tap on “OK”.
Once all the process is completed, restart your computer and test the Windows Start menu again.
11. Create New Registry
To create new registry, follow below steps :
- Press Windows + R shortcut key on the keyboard, type “Regedit” and click on “OK” button.
- In the address bar of Registry Editor window, type “Computer\HKEY_CURRENT_USER\SOFTWARE\Microsoft\Windows\CurrentVersion\Explorer\Advanced”, right-click on the screen and click on “New” and then click on “DWORD(32-bit) Value”.
- Name the new file as “EnableXamlStartMenu”.
Once all the process is completed, restart your computer and test the Windows Start menu again.
12. Log Out of Your Microsoft Account
When a user login to their Microsoft account on a Windows 10 computer, many of the apps and other things listed on the Start menu get cached. If you stay logged in for long periods of time this cache can eventually get very large or corrupted. When you log out, many of these things are cleared and refreshed.
To Log Out of Your Microsoft Account, follow below steps :
- Press window key on the keyboard.
- select your profile image, and then select Sign out.
13. Clear Cortana Temporary Files
To clear Cortana temporary files, follow these steps :
- Press Windows + R shortcut key on the keyboard, type “cmd” and click on “OK” button.
- Now type CD/d “%LOCALAPPDATA%PackagesMicrosoft.Windows.Cortana_cw5n1h2txyewy” and Taskkill /F /IM SearchUI.exe on command prompt window and press Enter.
14. Use the Media Creation Tool
To solve the start menu error using Media Creation Tool follow below steps :
- First download the Media Creation Tool from the Microsoft’s Media Creation Tool site.
- Create a system installation disk using the Windows Media Creation Tool.
- To launch the installation process, double-click on “setup.exe” from the media.
Here we have described all the different process To Repair Start Menu not working in Windows 10. Hope you have found solution to your problem! Thanks for reading this. If you want to get know more details about How to Clean Out Your Whole Computer System. Click Here