MySQL, the most popular Open Source SQL database management system, is developed, distributed, and supported by Oracle Corporation. The MySQL website (http://www.mysql.com/) provides the latest information about MySQL software and helps you to download it on Windows. Here’s how!
System requirements to download MySQL
To download with MySQL, your system must meet the following requirements:
Hardware Requirements:
Software Requirements:
- Operating system: Windows 7 or higher versions, MAC OS X 10.6.1+, Ubuntu 9.10(64 bit), Ubuntu 8.04(32bit/64bit)
- General: MySQL Configuration Software, Microsoft Framework 4.5.2, Microsoft Visual C++ Redistributable for Visual Studio 2019
How to download MySQL on your Windows?
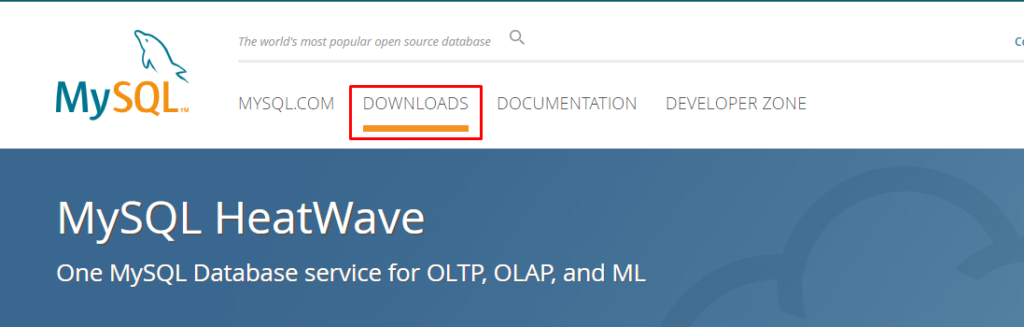
- Open a web browser on your windows and then go to the MySQL website.
- Select Downloads from the blue line taskbar.
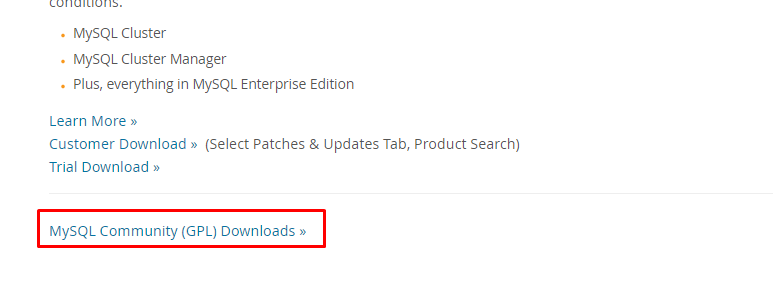
- Scroll down and tap on the “MySQL Community (GPL) Downloads” link.
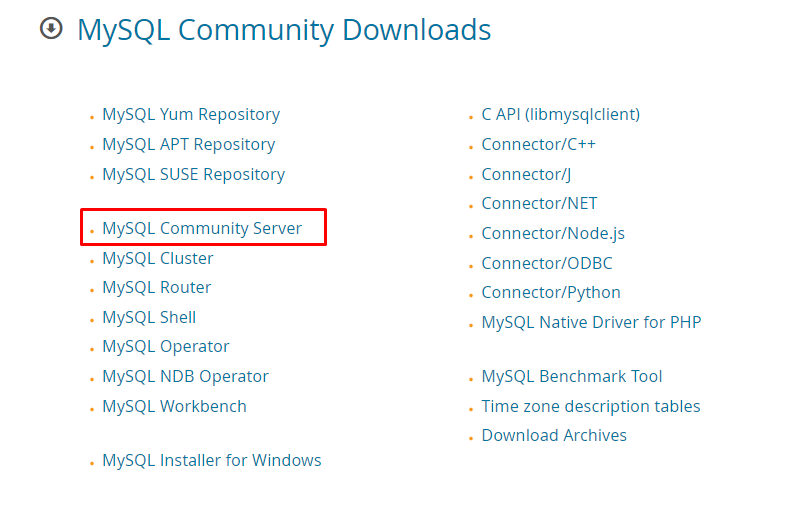
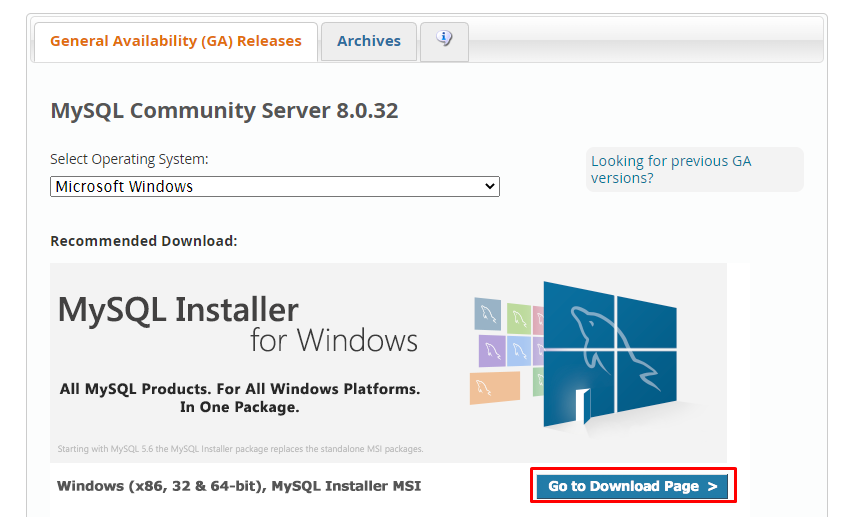
- On the next page, choose MySQL Community Server.
- Select which operating system you are using and tap on the Go to Download Page button.
- Then, it will ask you to choose between two installer files:
- Windows (x86, 32-bit), MSI Installer
- Windows (x86, 32-bit), MSI Installer
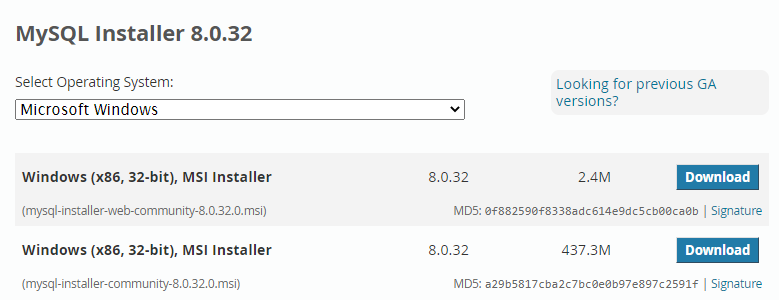
- Choose any file by tapping the download button.
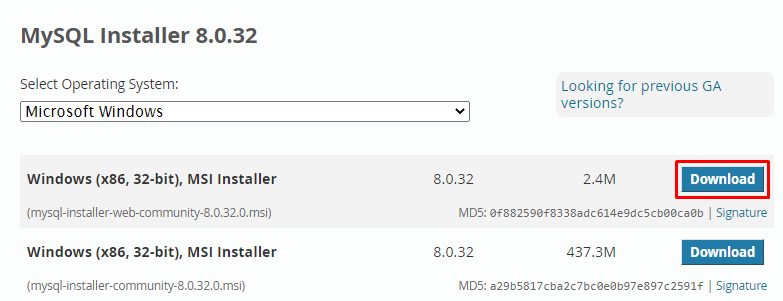
Note: We;ll recommend you to download a Windows (x86, 32 & 64-bit), MSI Installer
- Then, you’ll see a Login or Sign up button, if you don’t want to log in or Sign up then select “No thanks, just start my download.”
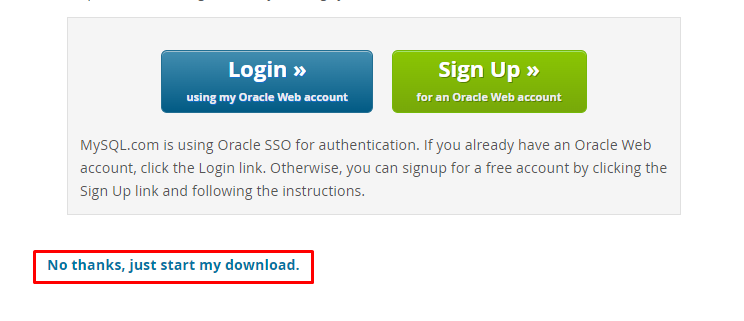
Note: If you already have an Oracle Web account, click the Login link. Otherwise, you can signup for a free account by clicking the Sign Up button and following the instructions.
- Click on the downloaded .xml file and this will start begins the installation process.
- Accept all the requirements and set up the server successfully.
- Click on the Finish option and then apply all settings and selections.