Disk Management is a built-in tool in Windows 10 that helps users manage their internal and external hard drives connected to their computer. With Disk Management, you can format or create new partitions, view various information such as the status, capacity, and percentage of free space available, and more. You also can rename hard drives, assign them specific disk letters, and change the size of partitions on that drive.
In this guide, we will explain what the Windows 10 Disk Management utility is, how to open, and how to use it. Follow the sections below to get started.
Table of Contents
How do you open Disk Management in Windows 10?
There are a few different ways to open Disk Management in Windows 10. Follow the simple methods that are mentioned below.
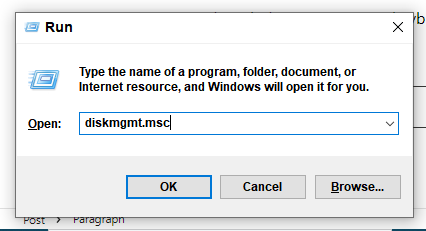
Access Disk Management from Run box
Press the Windows + R on your keyboard, type ‘diskmgmt.msc‘ into the Run dialogue box and press Enter.
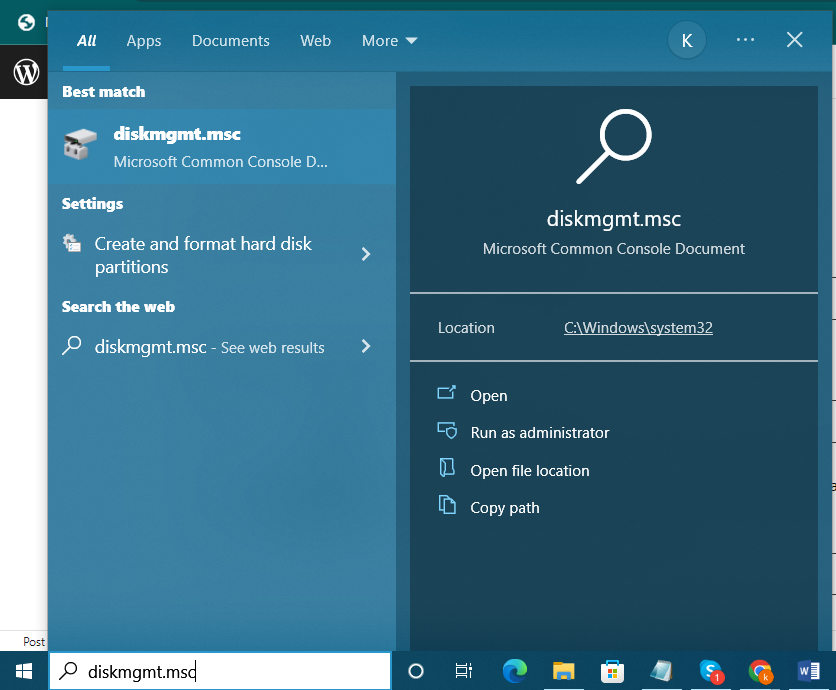
Search for Disk Management
Search for ‘Disk Management‘ in the Windows search bar and click on the top result. Alternatively, you can type in diskmgmt.msc in the Start menu search bar and hit enter.
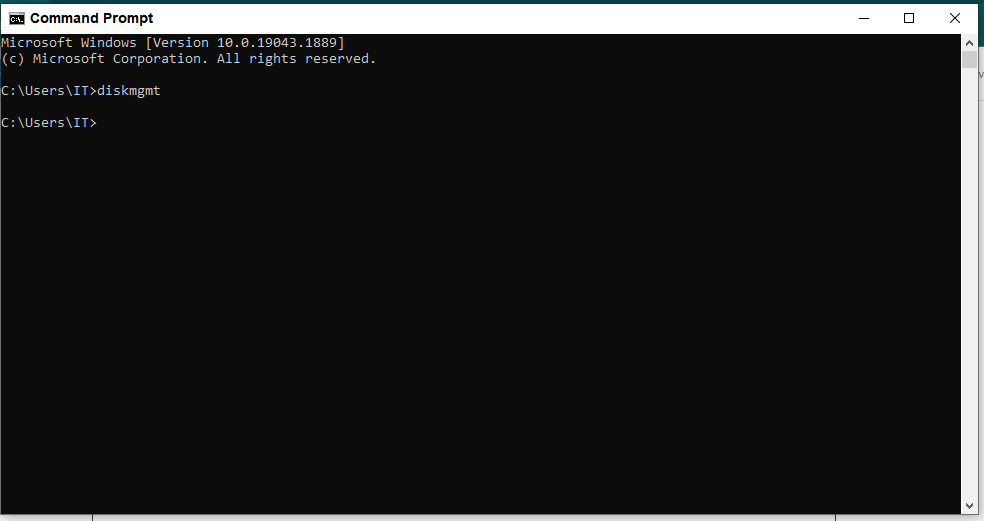
Open Disk Management from CMD
Open Command Prompt (To open a command prompt press window + r and type CMD or simply search for a command prompt in the taskbar). Type diskmgmt and hit Enter.
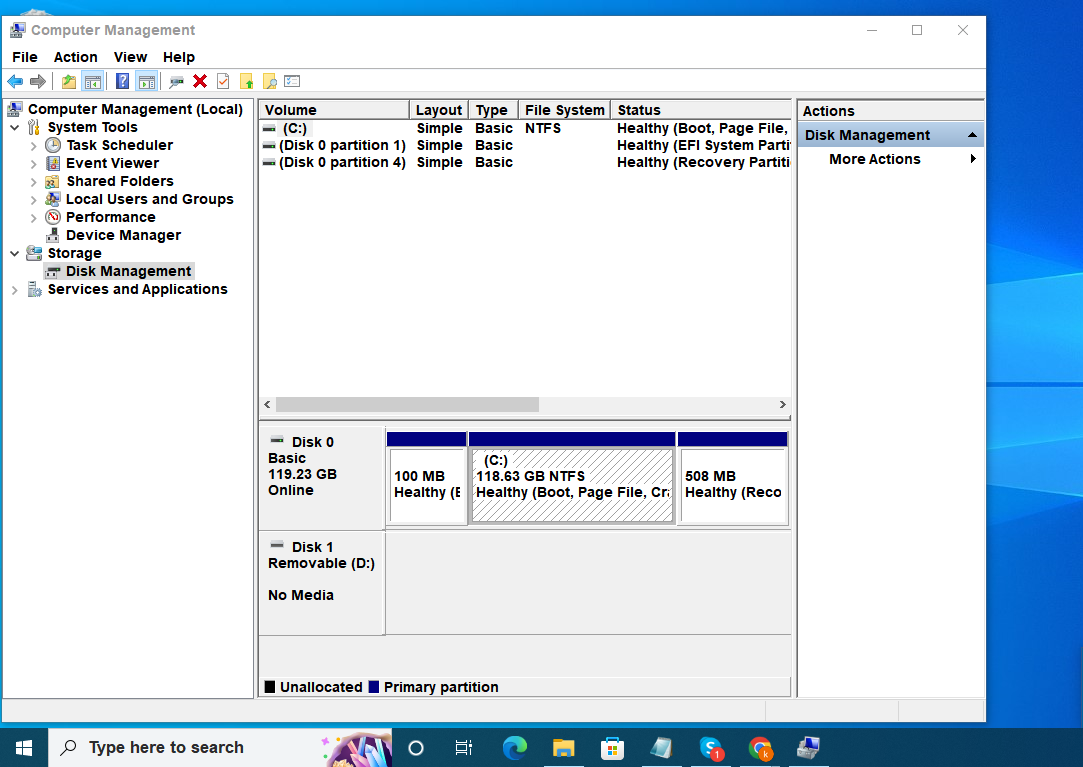
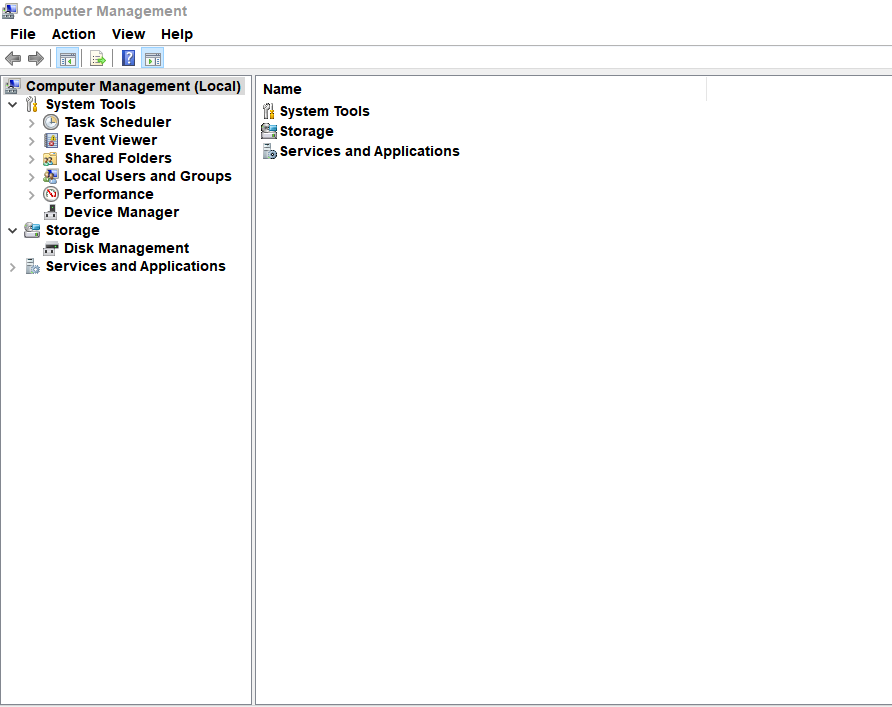
Accessing Disk Management in Computer Management
Open Computer Management, (To open it press window + R, type compmgmt.msc, press enter). On the left pane, upon expanding the Storage category, you’ll see Disk Management. Click on it to access the following panel in the console.
How to Use Windows 10 Disk Management?
Windows 10 offers a built-in tool to help you manage your hard drive partitions. You can use Disk Management to create, format, delete, resize, merge, and extend partitions. In this section, we’ll cover how to do all of these tasks in Disk Management:
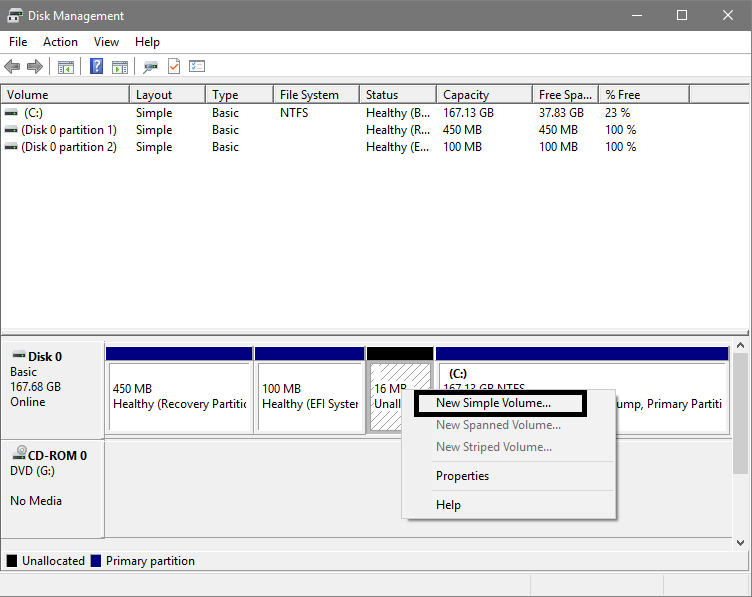
Create or Add Partitions
- Once the drive is initialized, right-click it.
- Select New Partition or New Simple Volume from the drop-down menu that appears.
- Enter the size and click next, and you are done.
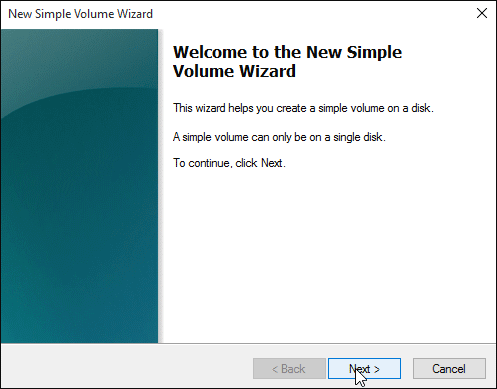
- A New Simple Volume Wizard opens. Click the Next button in the Windows button.
- Specify the size of the partition you want to create, and click the Next button in the Windows button.
- Select a drive letter for your new partition, and click the Next button in the Windows button.
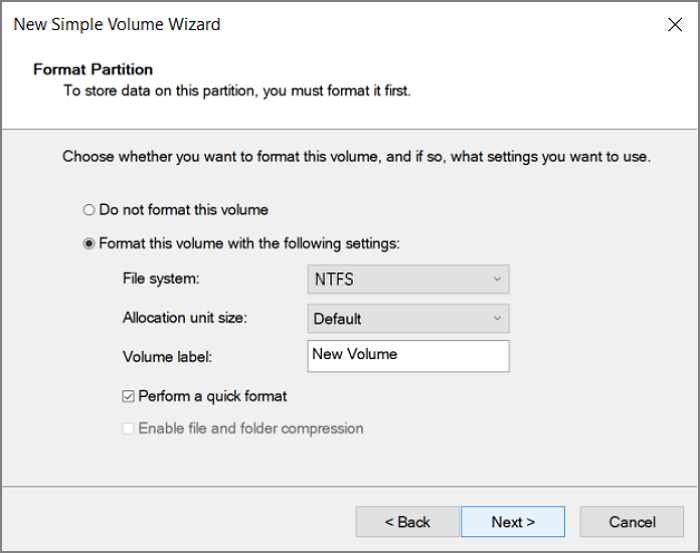
- Ensure the drive format is NTFS, change the volume’s name (optional), and click the Next button in the Windows button.
- Click the Finish button in the Windows button, and your new partition appears.
Format Disk
- Right-click on the drive/device you want to format. Select the Format option.
- To format the volume with the default settings, in the Format dialog box, select OK, and then select OK again.
Extend a Basic Volume
Open Disk Management, Select the volume that you want to extend, and now select Extend Volume.
Shrink a Volume
- Right-click the volume that you want to shrink and select “Shrink Volume“.
- In the pop-up window, enter the amount of space and click “Shrink” to execute.
Change Drive Letter and Paths
Open Disk Management, right-click the specific hard drive letter you want to change, and select Change Drive Letter and Paths. Click the add button, select a new drive letter, and now click the Change button.