Wordpad, which comes pre-installed with Windows operating systems, provides basic word processing features including font and font size control and Microsoft Office document compatibility. This guide will teach you how to get help with WordPad in windows 10 and other popular operating systems, including windows 7, windows 8, and windows XP.
WordPad in Windows 10
If you’re using Windows 10, you can find WordPad by typing WordPad in the search box (bottom left of the Taskbar). Then, from the search results, click WordPad App. Once you open WordPad, you’ll see a blank document ready for you to start typing.

WordPad in Windows 7, 8, and Earlier
Method 1: From Start Menu
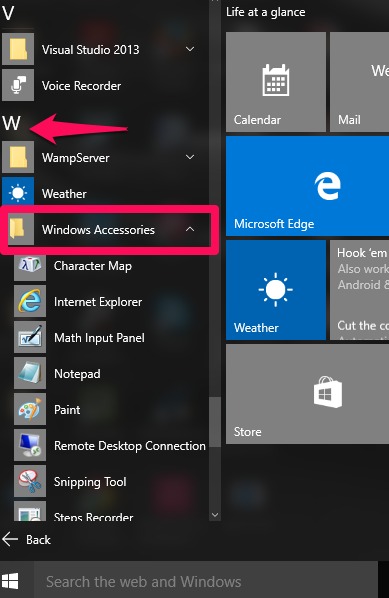
Go to the Start menu and select All Programs. Find the group of programs that includes WordPad and click on it. If you don’t see WordPad listed, try clicking on the Windows Accessories folder. Once you’ve found WordPad, double-click on it to open the program.
If you’re still having trouble, you can try searching for WordPad in the Start menu search box.

Method 2: From Run Box
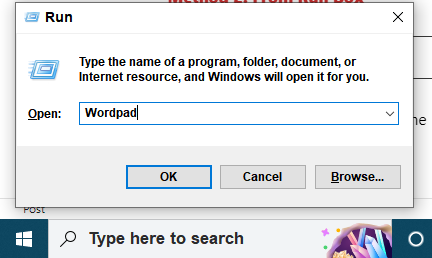
Press Window + R to open the Run box, now type WordPad and click OK. WordPad will open and be ready for use.

How do I use WordPad on Windows 10?
If you’re using Windows 10 and get help with WordPad in windows, you can open WordPad by selecting the Start button, then typing WordPad into the search bar. Once WordPad appears in the search results, click or tap on it to open the program. You can use WordPad to open and save text files (.txt), rich text files (.rtf), Word documents (.docx), and Open Document text files (.odt). Files in other formats will open as plain text files and might not appear as expected. The following table shows the steps to create, open, and save files.
| Create a new file | Tap or click File, and then tap or click New. |
| Open a file | Tap or click File, and then tap or click Open. |
| Save a file | Tap or click File, and then tap or click Save. |
