Audio issues are very common in the laptops. There are various reasons for non-working audio in laptops like faulty drivers, hardware issues or sometimes windows error. The audio is an important factor for many users and most of the laptop users use their laptop speakers regularly so if the sound issue happens in laptop users finds it frustrating.
Then how to get rid of the Laptop Audio Not Working error? Here are several methods listed below, so keep on reading.
Method 1: Check Volume

In case you have muted the volume on your laptop, then you can meet the error.
- To check volume of laptop, just click the mute button or the Add Volume button on your laptop’s keyboard,
- Click the Speaker button in the lower right corner of the taskbar, then unmute or turn up the volume.
Releted Post – What is dolby audio in laptop?
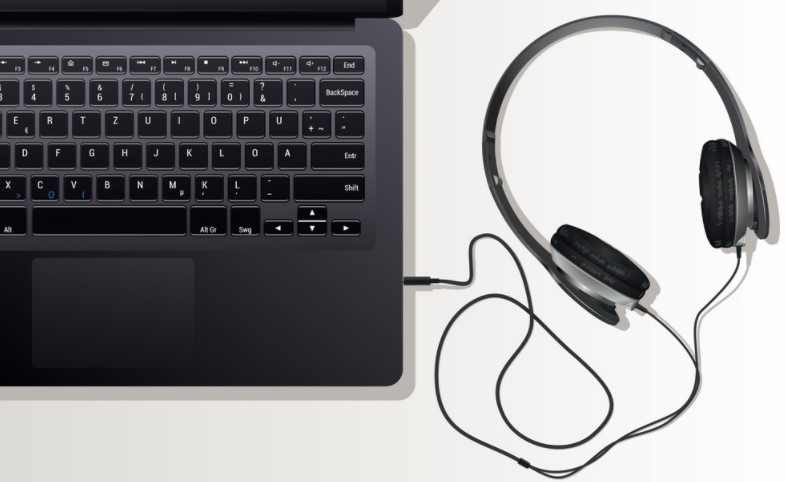
Method 2: Try Some Headphones
Plug headphones or a headset into the headphone port in your computer. If the audio works, obviously, you’ve got sound. You’ll also know the problem is with your laptop’s built-in speakers.
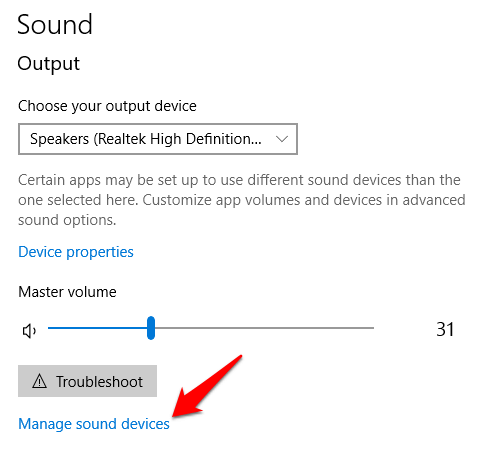
Method 3: Change Audio Device
It’s possible your speakers are working just fine, but Windows is directing sound to the wrong output device—this is especially common if you’ve plugged in a USB audio device, or are plugged in to an external HDMI monitor that doesn’t have speakers.
- Press the Win + I keys at the same time to open Settings.
- Click System and then go to the Sound tab.
- Scroll down to Related Settings and click Sound Control Panel.
- Select the Playback tab, and click the device you want to set as your default.
- Click the Set Default button at the bottom of the window, then click OK.
If the audio device you want to use isn’t there, here’s what to do:
- In the Sound Control Panel window, right-click and check Show Disabled Devices.
- Select your preferred audio device.
- Click the Set Default button, then click OK.
- If you don’t know which device you want to use, select one at a time. When the sound works, you have a winner.
Also Check – Audio Splitter Software
Method 4: Check Connections of Jacks
Check connections of speakers, headphone, jacks and plugs. Make sure that all are plugged in in the right jack. In case you have speakers and headphones both plugged, unplug one of them and see if that helps.
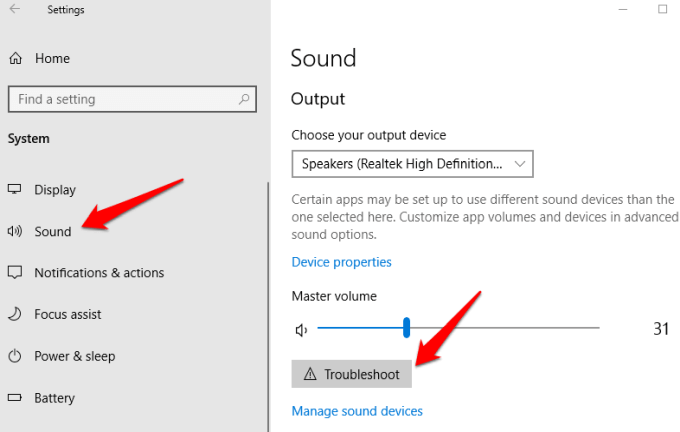
Method 5: Run Audio Troubleshooter
- This audio troubleshooter can help user to fix audio problems on your laptop. In order to do this,
- Click Start > Settings > System > Sound and select Troubleshoot.
- Else, In the search box on the taskbar type audio troubleshooter & click Fix and find problems with playing sound, and then click Next.
Method 6: Update Audio Driver
- Press the Windows key and R key to open the Run box.
- Type devmgmt.msc in the box and click OK to continue.
- In the Device Manager window, go to the Sound, video, and game controllers section.
- Right-click your sound card or audio device to choose Update Driver.
- Select the Search automatically for updated driver software option.
- Then Windows will find and install the driver for your audio device automatically.
Method 7 : Check For Windows Updates
- Click Start > Settings > Update & Security.
- Click Windows Update > Check for Updates.
- If you see the Updates are available status, click Install now. Click on the updates you’d like installed, and then select Install.
- Restart laptop and check if audio is working. If the status shows You’re up to date, try the next solution.
Check How to Restart Computer/Laptop – Restart Computer
Method 8: Update BIOS – Check if Audio has been enabled in BIOS or not
In some case, a hardware incompatibility, software update, or Windows reinstallation can cause your sound to stop working, and you may need to tweak something in the BIOS. Reboot computer and enter the BIOS/UEFI setup menu, usually by pressing Delete, F2, or some other key at startup.
Read the full article- How to Update BIOS?
Method 9: Speaker is Faulty
If nothing is working and you still have audio problems on your laptop, there’s a chance the speakers themselves are broken.
Method : 10 Install or Update Drivers
Click the Start Menu, type “device manager,” and press Enter to open the Control Panel.
Scroll down to Sound, Video and Game Controllers and expand the menu to show all the possible audio output devices in your PC.
If there’s a yellow exclamation mark next to any of these, that’s a sign you may need to find and install its driver from the manufacturer’s website. If not, installing the driver is worth a shot anyway.
You can also try uninstalling the driver: right-click the one you’re trying to use—in my case, my laptop uses Realtek Audio—and choose Uninstall Device. Reboot Windows and it will attempt to re-install its generic drivers, which may bring the speakers back to life.
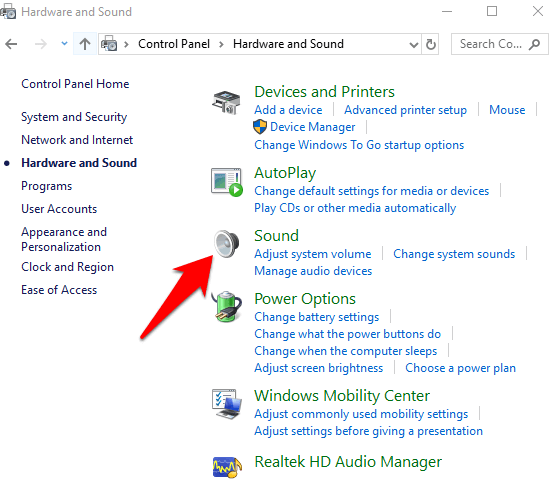
Method 11: Disable Audio Enhancements
- In the search bar, enter Control Panel and click it.
- Click Hardware & Sound.
- Click Sound.
- Click the Playback tab.
- Right click the desired audio device.
- Click on Properties.
- Click the Enhancements tab.
- Click the checkbox to Disable all enhancements or Disable all sound effects.
- Click OK, then play audio to test your sound.
- If that doesn’t work, select another audio device and repeat the process.
In conclusion, this post has offered 11 useful methods for you to get rid of the audio not working on laptop error. So if you find that the audio is not working, try these methods mentioned above.